|
In this lesson I learned to resize, and change the way shapes look in Gravit. For example, I learned how to change the round-ness of the shape, and also to change how many points a shape had. I also learned to create and change compound shapes. This would be important in the future if I wanted to make a new shape that I couldn't just make by clicking a button in the drop-down menu. 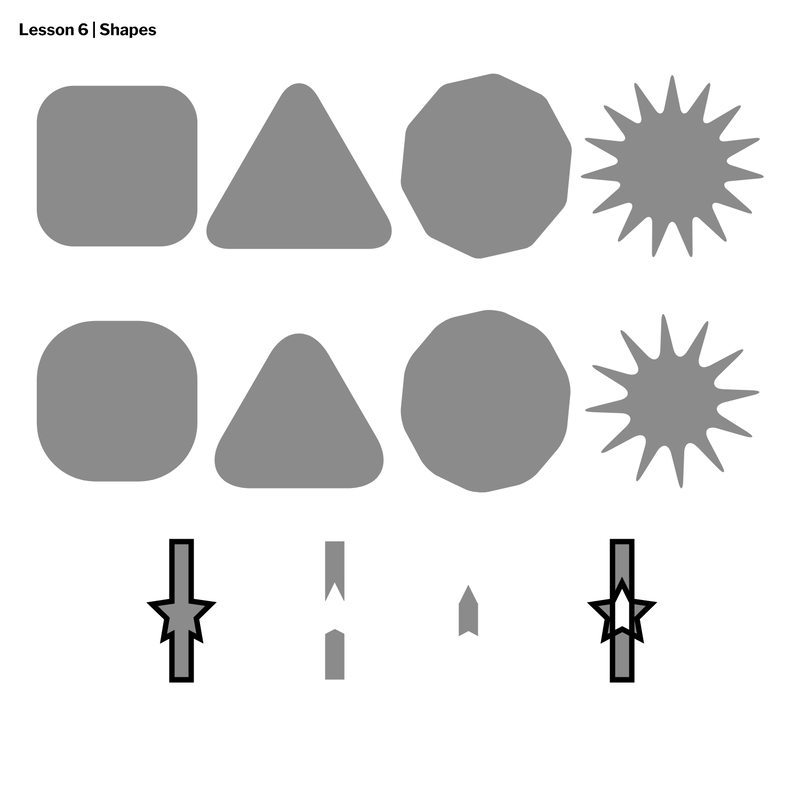 Something I learned today was was how to change the type of borders. I also learned how to make the borders as dotted lines. I also learned how to make the color of the object less opaque. This would be important because this can help us with making other images in the future. 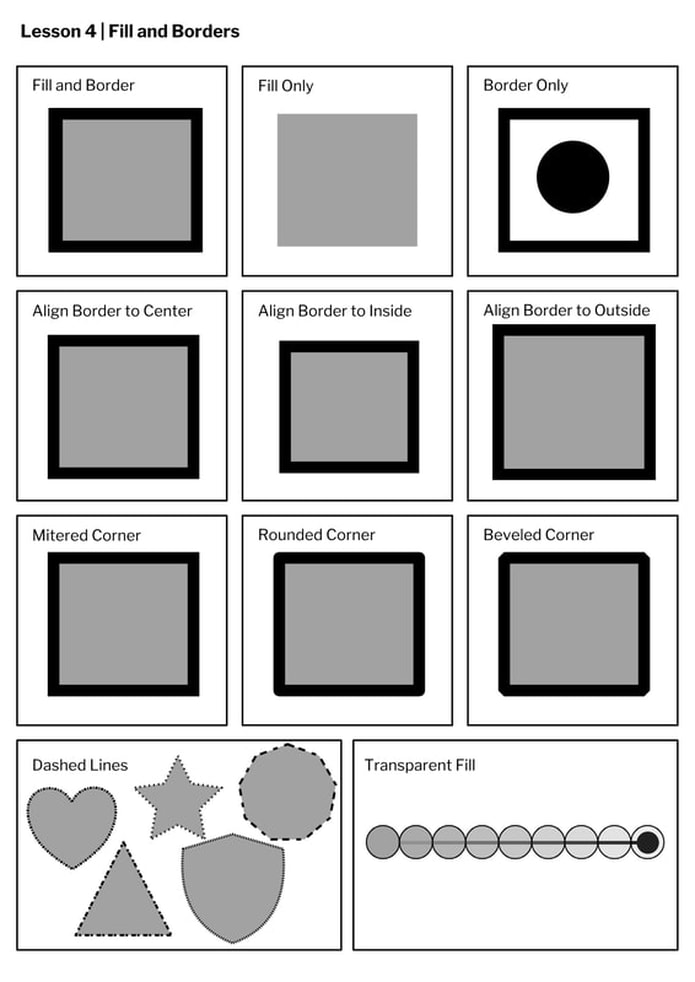 Something I learned to do was to modify shapes in Gravit. I learned how to change the color, shape, and the orientation of any shape. This would be important for when we do more complicated things later. I also learned that if you press "v" on your keyboard, you use the pointer tool, which you can use to move objects. You can also use the pointer tool to change the size and orientation of an object. However, if you press "d" on you keyboard, you can use the sub-select tool, which you can use to move the anchor points of a shape, and to also change what a shape looks like. 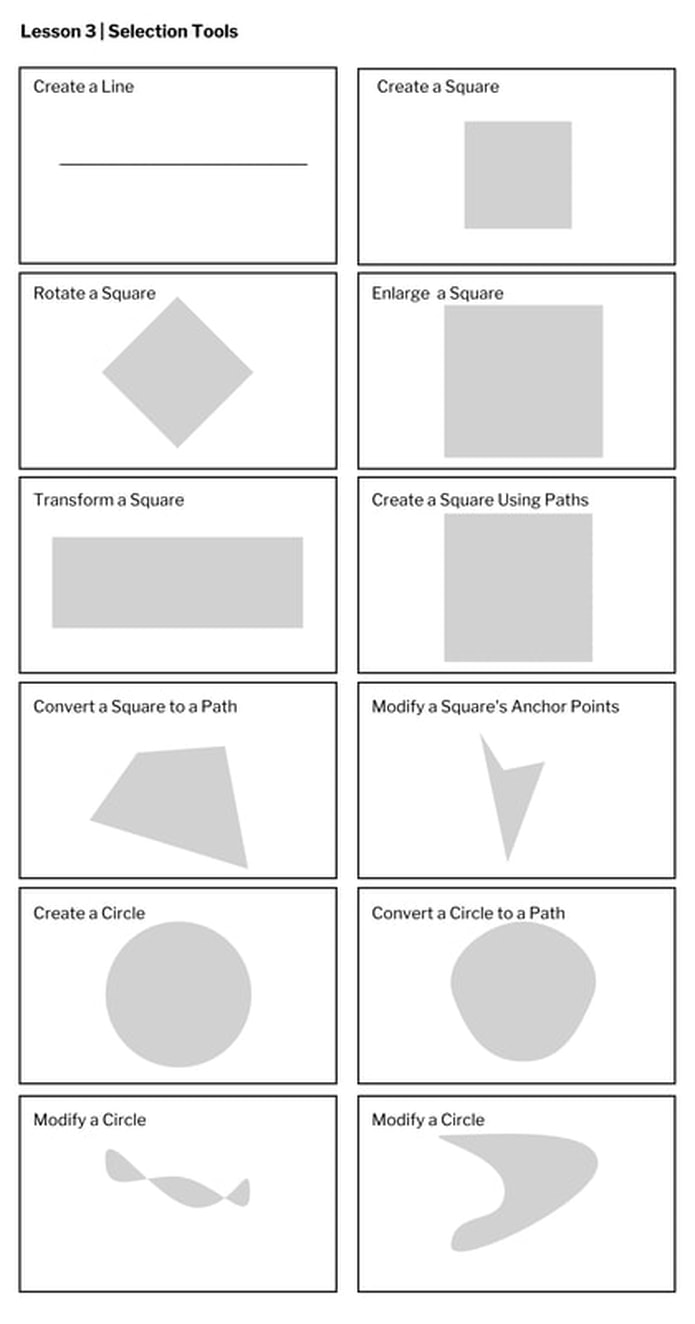 Something I learned was how to edit, add and change the pages in gravit. I also learned how to add text boxes, and edit the font, and the size of the text. My first page was a square, and my second page was an A4 size. The third page was an A3 size paper, but in landscape. The last page was a blog cover with the exact dimensions.  |
Archives
May 2019
Categories
All
 This work is licensed under a Creative Commons Attribution-NonCommercial-NoDerivatives 4.0 International License. |